
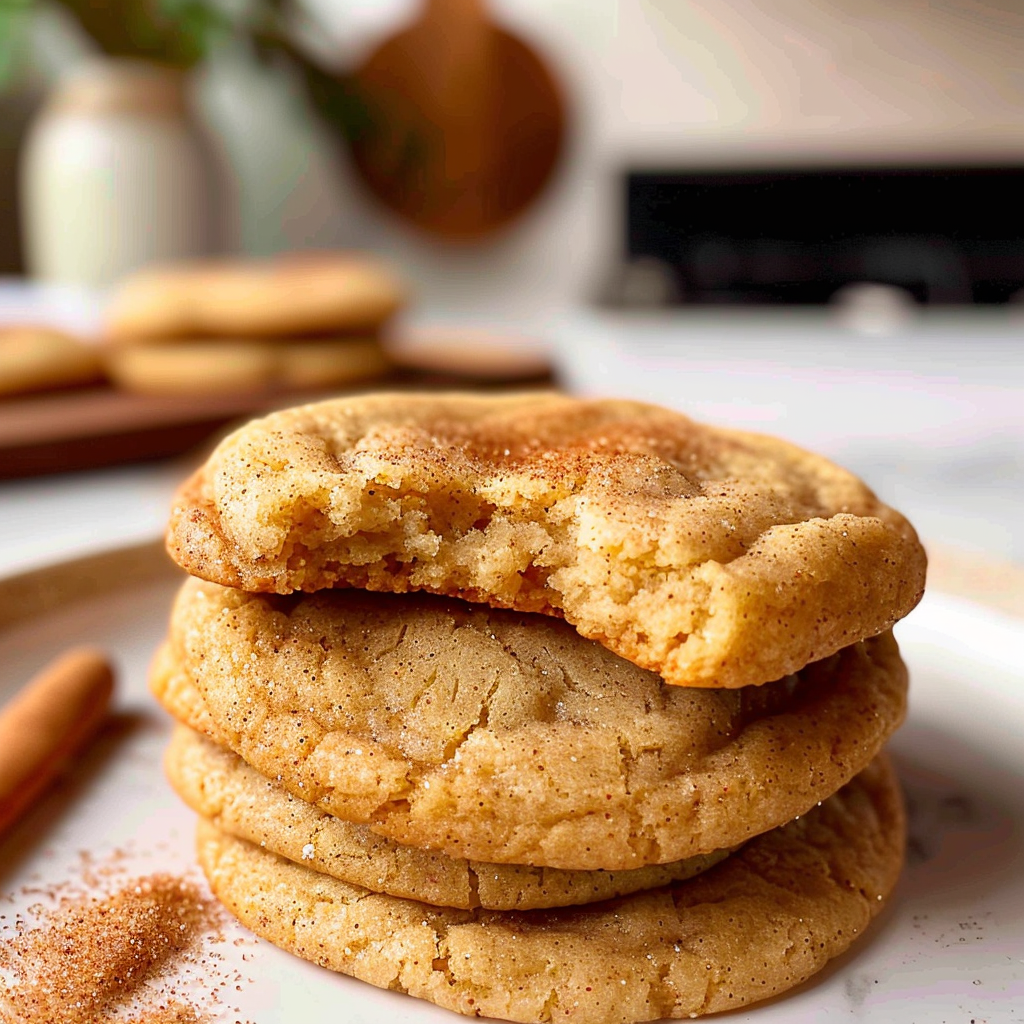
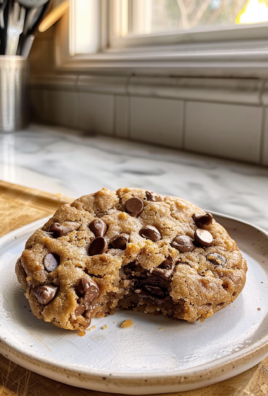
Imagine sinking your teeth into a warm, gooey Brown Butter Snickerdoodle cookie, the rich aroma of toasted butter enveloping you in a hug. These cookies are not just any ordinary treat; they’re the rock stars of dessert tables and the secret weapon for winning hearts at family gatherings.
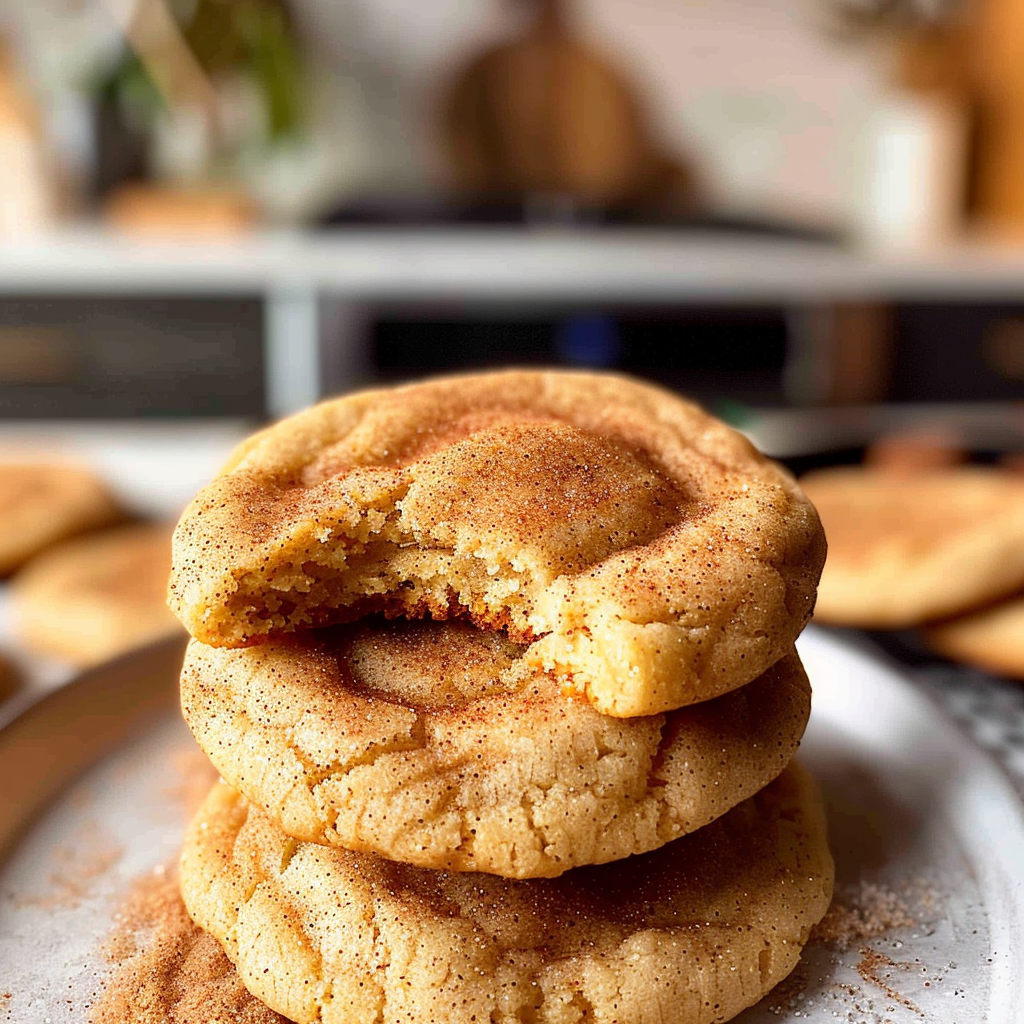
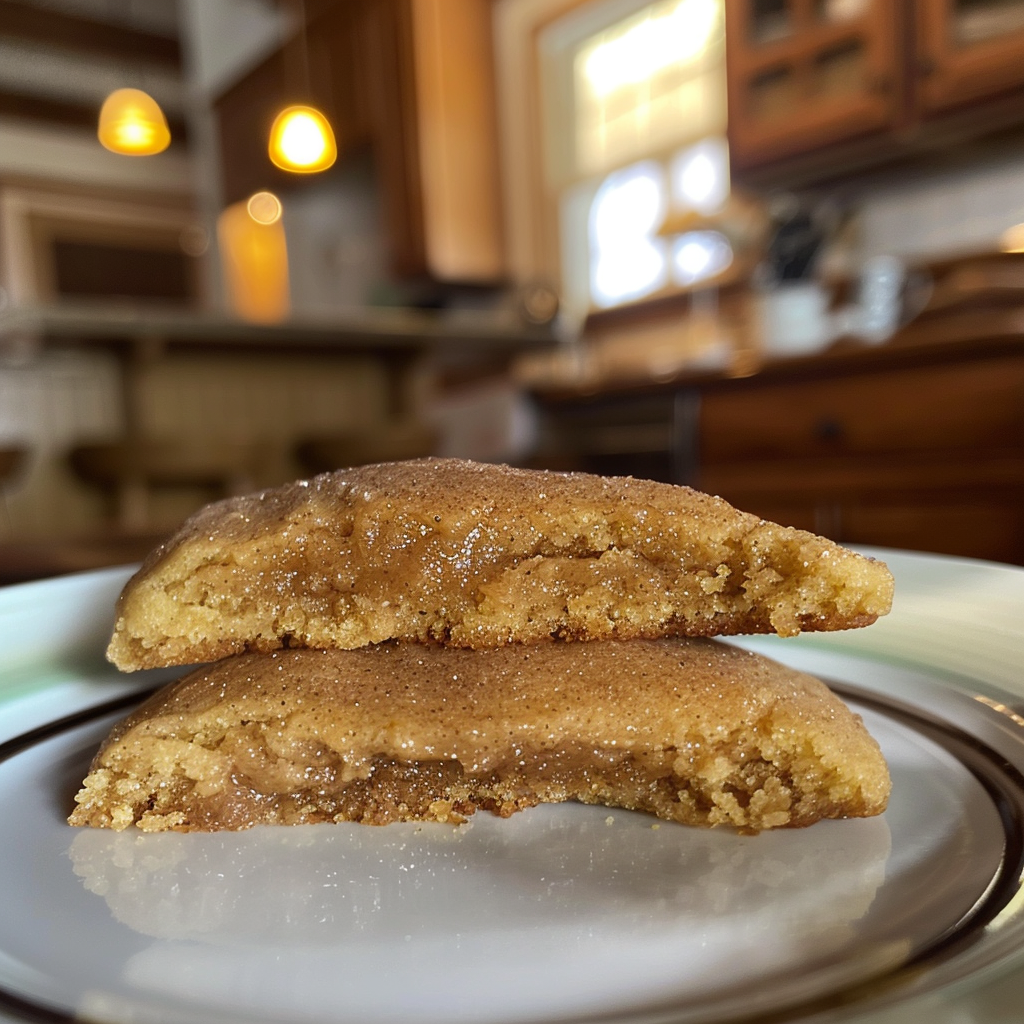
The first bite reveals a delightful contrast between the crispy edges and soft, chewy center, dusted generously with cinnamon sugar. It’s like a cozy blanket on a chilly day, perfect for any occasion that requires a sprinkle of sweetness—be it a rainy afternoon or a festive holiday gathering. You won’t want to miss out on this incredible flavor experience!
Why You'll Love This Recipe
- These Brown Butter Snickerdoodle cookies are incredibly easy to prepare, making them perfect for beginners or busy bakers
- Their buttery flavor combined with cinnamon creates a mouthwatering profile that’s hard to resist
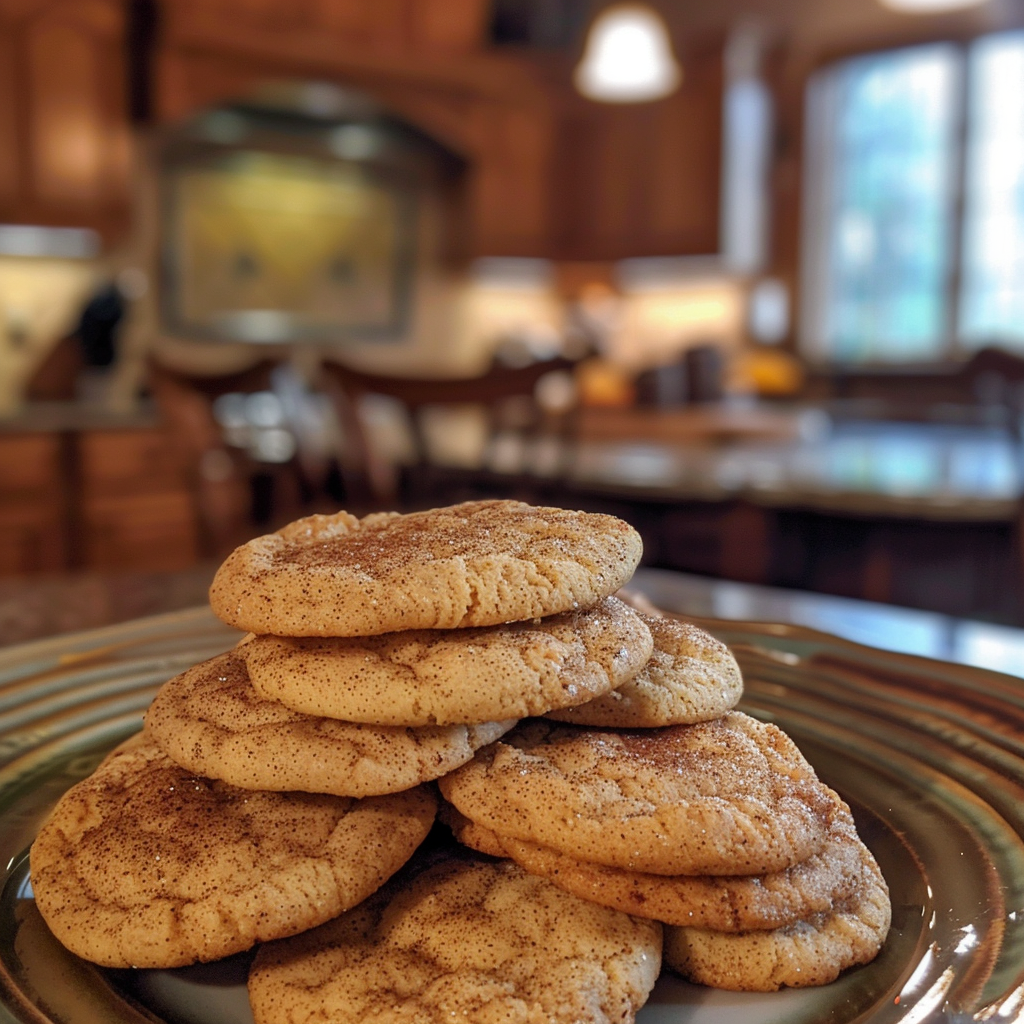
- The cookies look gorgeous with their golden hue and sugary coating, ready to impress anyone who sees them
- They’re versatile enough to be enjoyed on their own or paired with ice cream for an extra indulgent treat
Baking these cookies always brings back fond memories of my childhood kitchen adventures, where flour flew like confetti and laughter filled the air.
Essential Ingredients
Here’s what you’ll need to make this delicious dish:
-
Unsalted Butter: Use high-quality butter for the best flavor; browning it adds nuttiness that elevates the cookies.
-
Granulated Sugar: This sweetener is essential for giving the cookies their signature sweetness and chewy texture.
-
Brown Sugar: Packed brown sugar adds moisture and depth of flavor; light or dark works well here.
-
Eggs: Two large eggs help bind the ingredients together and create that perfect chewy texture.
-
All-Purpose Flour: Use standard flour as your base; it provides structure while keeping the cookies soft.
-
Cinnamon: A generous sprinkle of ground cinnamon gives these cookies their classic snickerdoodle flavor.
-
Baking Soda: This leavening agent ensures your cookies rise beautifully without being too dense.
-
Salt: A pinch enhances all flavors; don’t skip it unless you want flat-tasting cookies.
-
Cream of Tartar: It’s essential for that classic tangy taste and helps achieve that perfect texture.
-
Cinnamon Sugar Mixture (for rolling): Combine sugar and cinnamon in equal parts; this adds an irresistible crunchy topping.
The full ingredients list, including measurements, is provided in the recipe card directly below.
Let’s Make it Together
Brown the Butter: Start by melting unsalted butter in a saucepan over medium heat. Stir continuously until it turns golden brown and releases a nutty aroma.
Prepare Cinnamon Sugar: In another small bowl, mix granulated sugar with additional cinnamon for rolling later. Set aside for now while we focus on cookie dough.
Cream Butter and Sugars: In a mixing bowl, combine browned butter with granulated and brown sugars using an electric mixer until light and fluffy—about 2-3 minutes should do the trick.
Add Eggs: Beat in eggs one at a time into the mixture until fully incorporated. This step ensures your dough is smooth and silky.
Combine Wet and Dry Ingredients: Gradually add dry ingredients to the wet mixture while mixing on low speed. Stop when just combined; don’t overmix to keep those cookies tender.
Chill Dough (optional): For better flavor development, cover the dough with plastic wrap and chill in the refrigerator for at least 30 minutes before baking.
Preheat Oven: Preheat your oven to 350°F (175°C). Line two baking sheets with parchment paper so your cookies won’t stick.
Scoop Cookies: Using a cookie scoop or tablespoon, portion out dough balls onto prepared baking sheets about two inches apart to allow spreading during baking.
Roll in Cinnamon Sugar: Roll each dough ball into your reserved cinnamon sugar mixture until evenly coated before placing them back on the baking sheets.
Bake Cookies: Bake for 10-12 minutes until edges are lightly golden but centers remain soft. Let them cool on sheets for 5 minutes before transferring to wire racks.
And there you have it! Your Brown Butter Snickerdoodle Cookies are ready to devour! Enjoy those warm treats fresh out of the oven or store them in an airtight container for later indulgence. Your taste buds will thank you!
You Must Know
- Snickerdoodle cookies become heavenly with brown butter; the nutty aroma enhances the flavor
- Make sure to chill the dough for at least 30 minutes to ensure perfect texture and prevent spreading
- Trust me, these cookies will disappear faster than you can say “yum!”
Perfecting the Cooking Process
Start by browning the butter, then mix it with sugars before adding dry ingredients. This sequence ensures that all flavors meld beautifully and creates that irresistible cookie texture.
Add Your Touch
Feel free to swap in different spices like cardamom or add chocolate chips for a modern twist. A sprinkle of sea salt on top can also elevate those sweet flavors!
Storing & Reheating
Store your cookies in an airtight container for up to a week. To reheat, pop them in the microwave for about 10 seconds to bring back that fresh-baked warmth.
Chef's Helpful Tips
- For perfectly baked cookies, always use room temperature eggs and don’t overmix the dough; this keeps your snickerdoodles soft and chewy
- A light dusting of cinnamon sugar right before baking gives extra flair
- Letting them cool on a wire rack is key to avoiding sogginess!
Baking these brown butter snickerdoodle cookies took me back to my childhood kitchen where my mom would let me sneak bites of dough. The smell filled every corner of our home, making it feel like a warm hug.
FAQ
Can I freeze brown butter snickerdoodles?
Yes, you can freeze them before or after baking for up to three months!
What makes these cookies chewy?
Brown sugar adds moisture while chilling the dough prevents spreading too much during baking.
How do I know when they are done?
Look for lightly golden edges and soft centers; they will firm up as they cool!
Leave a Comment